On your phone, choose “Save as PDF” or “Save to Files” in the print options.
SOFIDRINKINI

Piattini

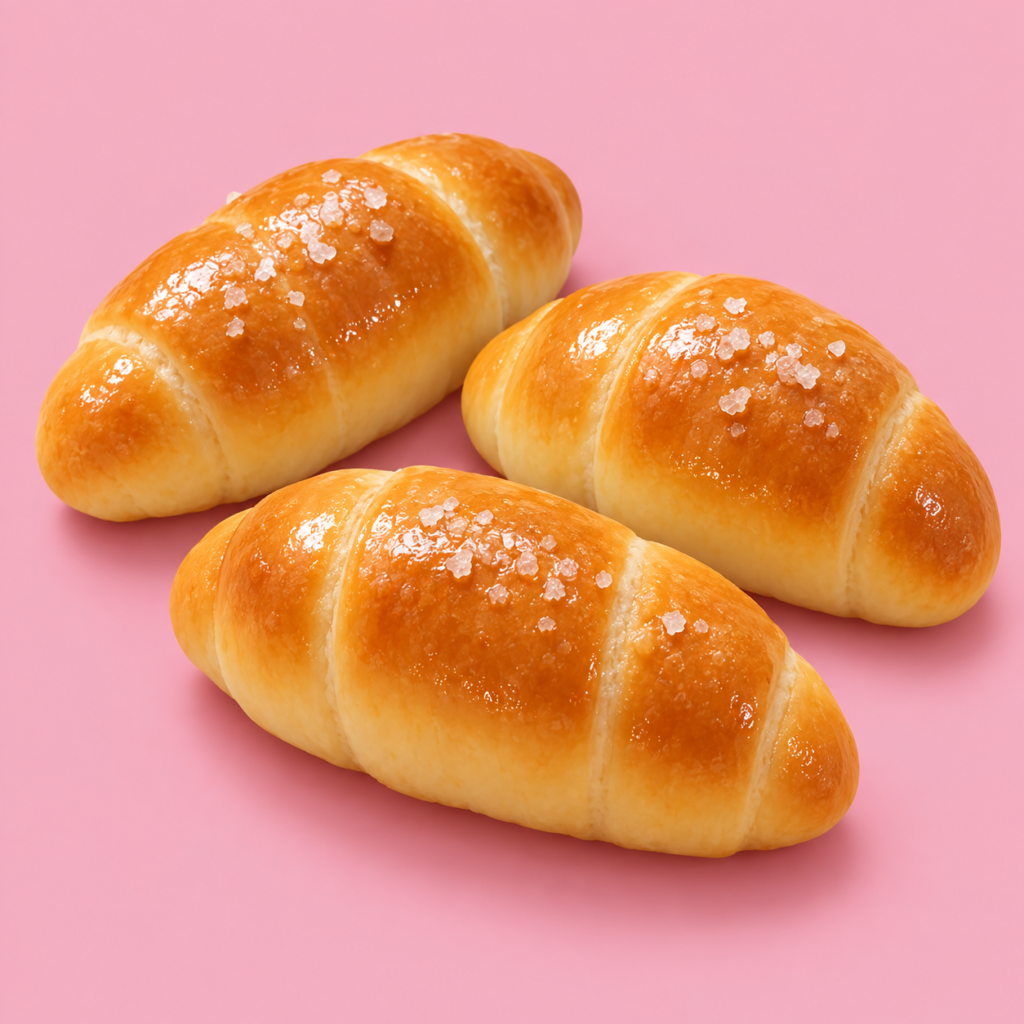
Salted butter rolls 🧈

PrepAbout 30 min
Rising1 hour 40 min
Fridge rest20 min
Baking20 min
Salted butter rolls 🧈

Method

01

Combine the ingredients

Put the bread flour, 00 flour, salt, sugar, yeast, soft unsalted butter and cold water in a bowl. Stir with a spatula until all the flour has been absorbed.

Tip: At this stage a rough dough with no dry flour left is enough.

02

Knead the dough

Turn the dough out onto the work surface and knead it by hand for 10 minutes, lifting it and slapping it down on the table again and again. At first it will be very sticky, but as you keep kneading it will become smoother and more elastic.

Tip: Do not add more flour, even if the dough seems very sticky at first.

03

First rise

Shape it into a ball, place it in a bowl and cover it. Let it rise for about 1 hour, or until doubled in size.

Tip: The volume of the dough matters more than the exact time: if needed, let it rise a little longer.

04

Divide the dough

Gently press the dough out with your hands into a rectangle. Divide it into 6 equal pieces of about 66 g each.

Tip: Weighing the portions gives you even rolls that bake at the same rate.

05

Shape the portions

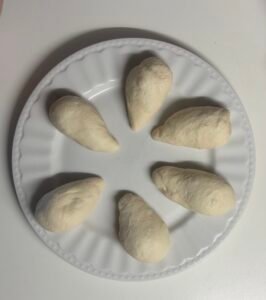
Round each portion into a small ball first. Then taper one end to get a shape like a little cone or teardrop.

Tip: Keep one end wider and a thin point: they will give the roll the shape of a little brioche.

06

Rest in the fridge

Place the portions on a tray, cover them well and let them rest in the fridge for 20 minutes.

Tip: Cover the dough well so the surface does not dry out.

07

Roll out the portions

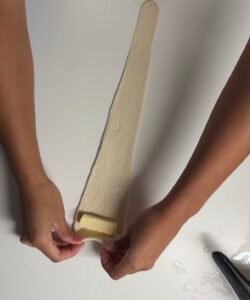
Take the portions out of the fridge. Gently stretch the point and roll out each piece, keeping a wider base and a thin tip.

Tip: The shape should look like a very long triangle.

08

Add the salted butter

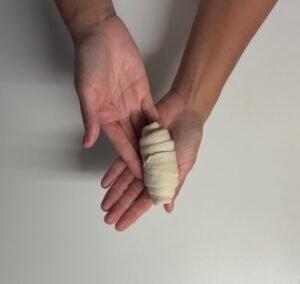
Place 10 g of salted butter on the wide end of each portion. Roll the dough up from the base towards the tip to make a little brioche.

Tip: Seal the tip well and tuck it under the roll so it does not open while rising.

09

Second rise

Place the rolls on a baking tray lined with baking paper, leaving space between them. Cover and let them rise for 40 minutes.

Tip: At the end they should look slightly puffy, but not necessarily doubled.

10

Prepare the oven

Preheat the oven to 220 °C. Place a heatproof bowl of water on the bottom to create steam during baking.

Tip: The bowl must be suitable for high temperatures and goes into the oven while it preheats.

11

Spray with water and add the salt

Just before baking, spray the tops of the rolls generously with water. Then scatter a few Maldon salt flakes or some coarse salt crystals on each roll.

Tip: The water helps create a crunchy crust and makes the salt stick to the surface.

12

First stage of baking

Bake the rolls at 220 °C for 10 minutes with the bowl of water inside the oven.

Tip: Avoid opening the oven during this first stage so the steam does not escape.

13

Finish baking

Lower the temperature to 200 °C and bake for another 10 minutes, until the rolls are nicely golden.

Tip: Keep an eye on the colour in the last few minutes, because every oven bakes a little differently.

14

Let them cool

Take the rolls out of the oven and move them to a wire rack. Let them cool for at least 15–20 minutes before serving.

Tip: Resting lets the crumb set and the butter inside settle.

Sofi’s tips

Small details, great result.

01 Do not add more flour while kneading: the dough becomes less sticky the longer you knead it.
02 Put 10 g of salted butter inside each roll.
03 Spray with water before adding the Maldon or coarse salt, so it sticks better to the surface.
04 The bowl of water in the oven helps you get a crunchy crust without drying out the crumb.
05 These rolls are best eaten on the day they are made.
06 You can freeze any leftovers in a well-sealed bag and reheat them in the air fryer at 170 °C for about 4 minutes.