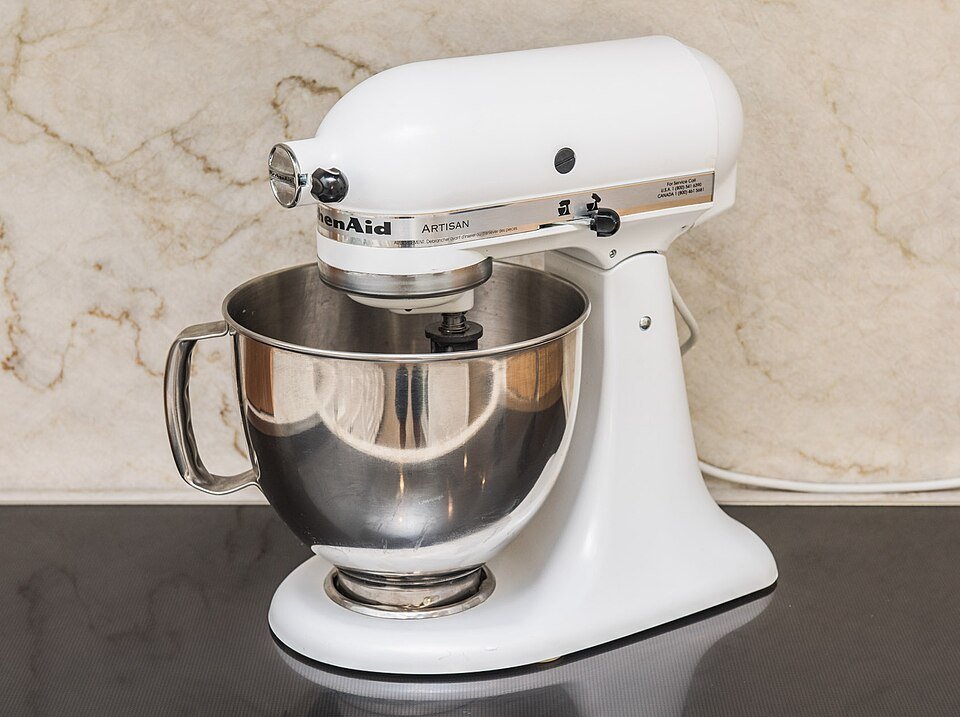
Stand mixer with dough hook
Foto di Your Best Digs · CC BY 2.0 · Wikimedia Commons
Piattini · Thick pan pizza and focaccia, soft and ready the same day
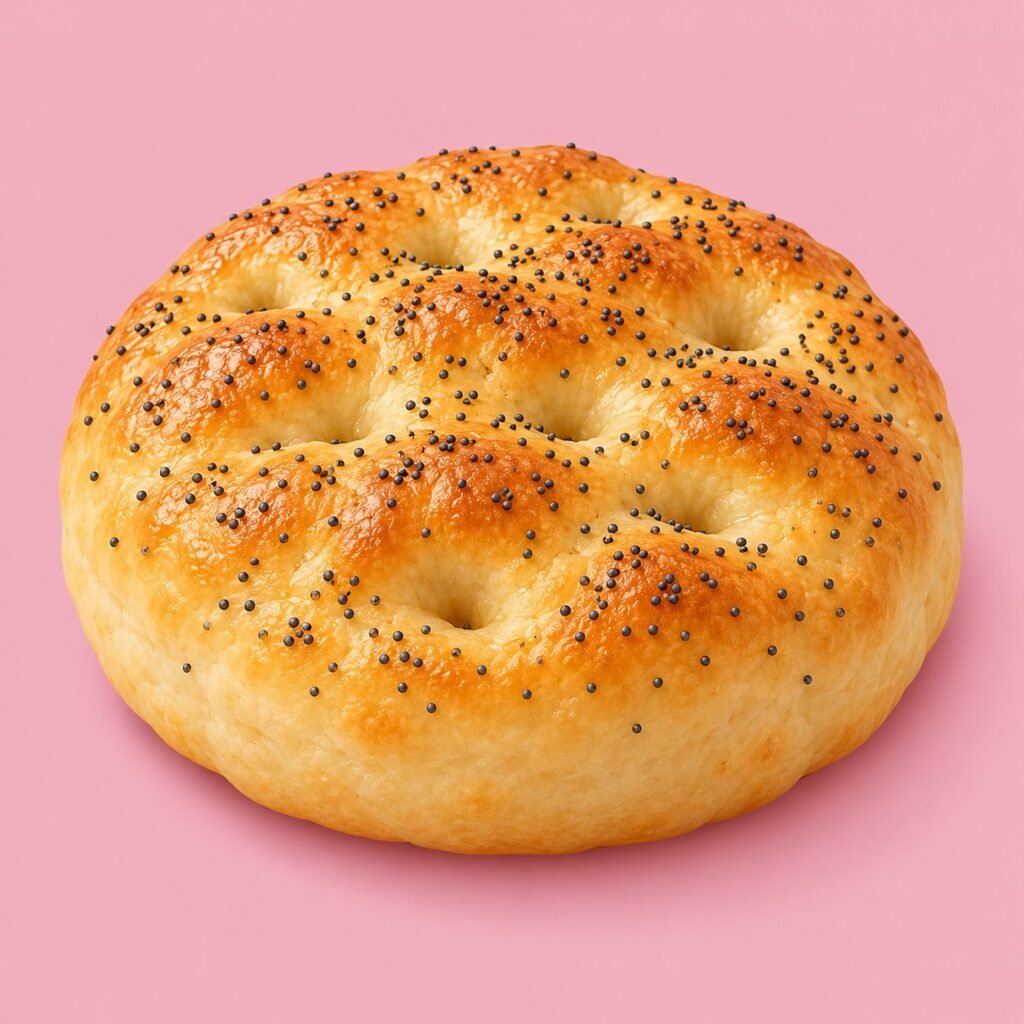
A high-hydration dough to make a thick, soft pan pizza full of bubbles in a single day, with a golden, crisp base. It works perfectly for both pizza and focaccia. For the focaccia version I used poppy seeds.
Mold used: Rectangular pan, 30 × 40 cm
Put the flour, dry yeast and 330 g of room-temperature water in the stand mixer bowl. Knead with the dough hook on low speed for 4–5 minutes, until all the flour is absorbed and there are no dry bits left.
Stop the mixer and let the dough rest in the bowl for 10 minutes.
Start kneading again on medium-low speed. Add the salt and gradually work in the remaining 45 g of water. Pour a little at a time and wait until each addition is absorbed before adding the next.
Drizzle in the olive oil and keep kneading for another 8–12 minutes, until the dough is elastic, fairly smooth and gathered around the hook.
Lightly oil a container, transfer the dough into it and cover.
Let the dough rest for 15 minutes. With oiled hands, gently lift it from the centre and let both ends fold underneath. Repeat a couple of times.
Cover again, wait another 15 minutes, then repeat the same set of folds with lightly oiled hands.
Cover the container and let the dough rise at about 26–28 °C for 1 hour 45 minutes to 2 hours, until it has almost doubled and looks visibly puffy.
Generously oil a pan of about 30 × 40 cm and gently tip the dough into it. With oiled fingers, spread it towards the edges without squashing the bubbles too much.
If the dough springs back and doesn’t reach the corners straight away, cover it and let it rest for 15–20 minutes. Then stretch it again with oiled fingers, gently easing it to the edges of the pan.
Cover the pan without letting the cover touch the surface and let it rise for about 60 minutes. Before baking, the dough should look soft, puffy and airy.
During the second rise, preheat the oven to 250 °C (conventional, no fan) for at least 35–40 minutes.
Gently spread the tomato, seasoned beforehand with oil and salt, over the surface, taking care not to squash the bubbles in the dough.
Place the pan on the lowest rack and bake at 250 °C (conventional) for 12–15 minutes.
Spread the well-drained mozzarella over the pizza and move the pan to the middle rack. Bake for another 7–10 minutes, until the mozzarella has melted and the base is golden.
As soon as it’s ready, take the pizza out of the pan and put it on a wire rack for a few minutes before cutting.
What I used
The exact reference images, so there is no “wait, which one should I buy?” moment.
Foto di Your Best Digs · CC BY 2.0 · Wikimedia Commons
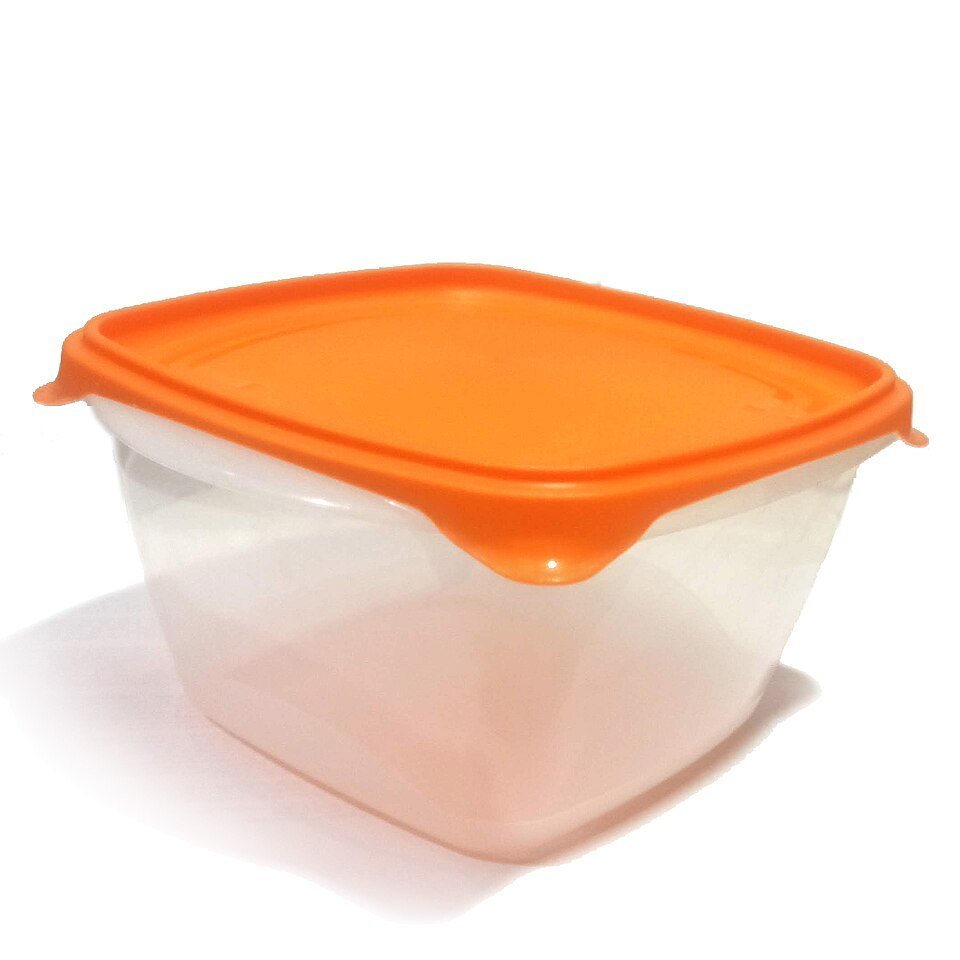
Foto di Serg!o · CC BY-SA 3.0 es · Wikimedia Commons
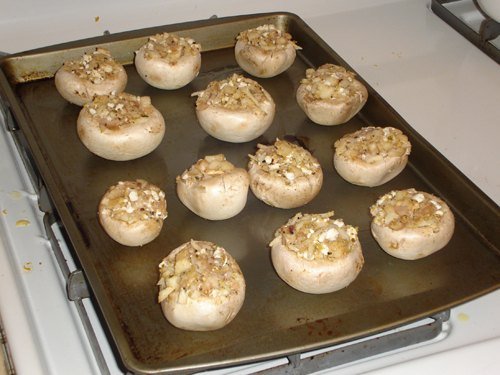
Foto di Rachel Ricci · CC BY 2.0 · Wikimedia Commons
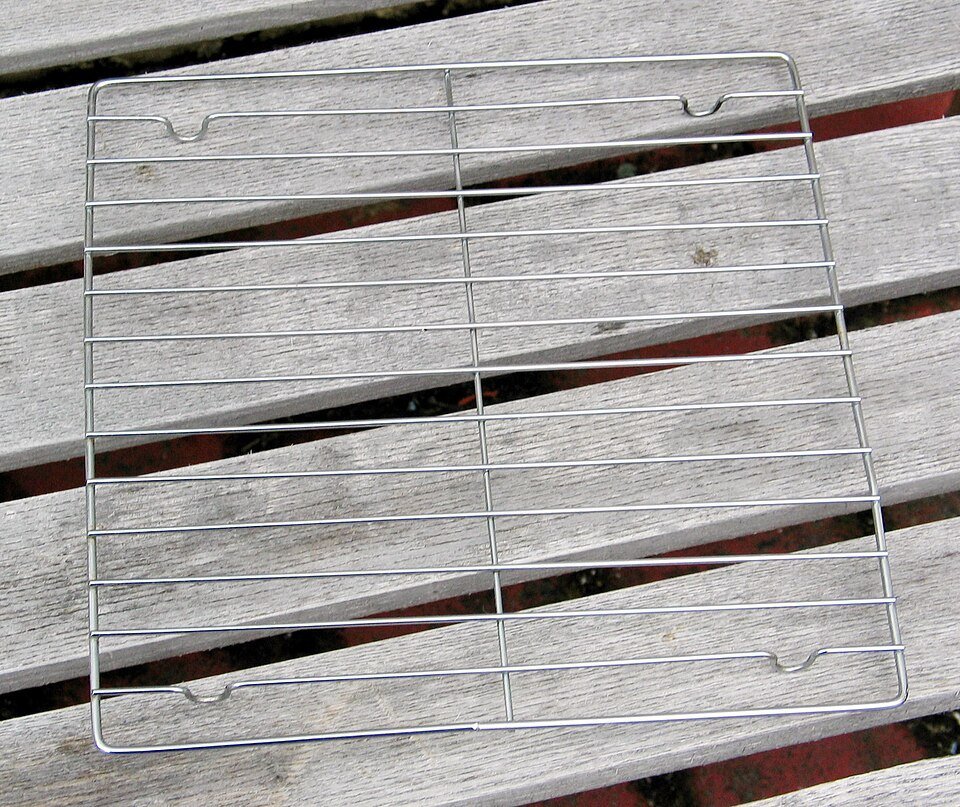
Foto di Donovan Govan. · CC BY-SA 3.0 · Wikimedia Commons
Sofi’s tips
01This dough is ideal for both pizza and focaccia. For the focaccia version I used poppy seeds.
02Don’t add flour even if the dough looks very soft and sticky.
03Work in the last 45 g of water a little at a time, waiting until each addition is absorbed.
04The ideal final dough temperature is about 25–26 °C.
05While it rises, watch the volume and look of the dough, not just the time given.
06If the dough shrinks back while you stretch it, let it rest before trying again.
07Preheat the oven for at least 35–40 minutes before baking.
08Move the baked pizza to a wire rack to keep the base crisp.
Keep cooking
 New
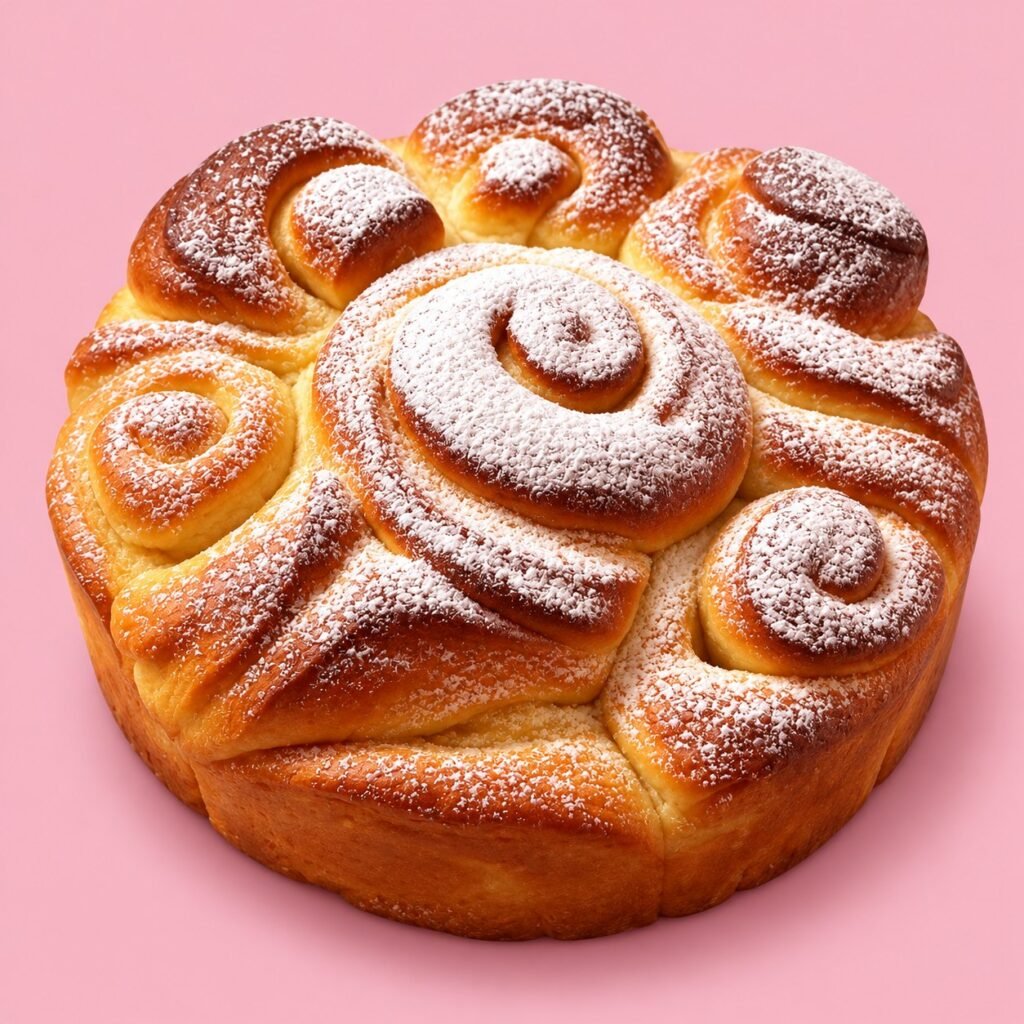
Soft, fragrant rose cake made of twelve brioche swirls with a creamy butter filling.

Sixteen soft, spongy babas made with dry yeast and soaked in a rum syrup scented with citrus.

Homemade puff pastry with saffron cream, goat ricotta and grilled peaches.